How To Fix Your Malfunctioning PS5 Controller, Let's Take It Apart

Topics: PlayStation, PlayStation 5, Sony
Topics: PlayStation, PlayStation 5, Sony
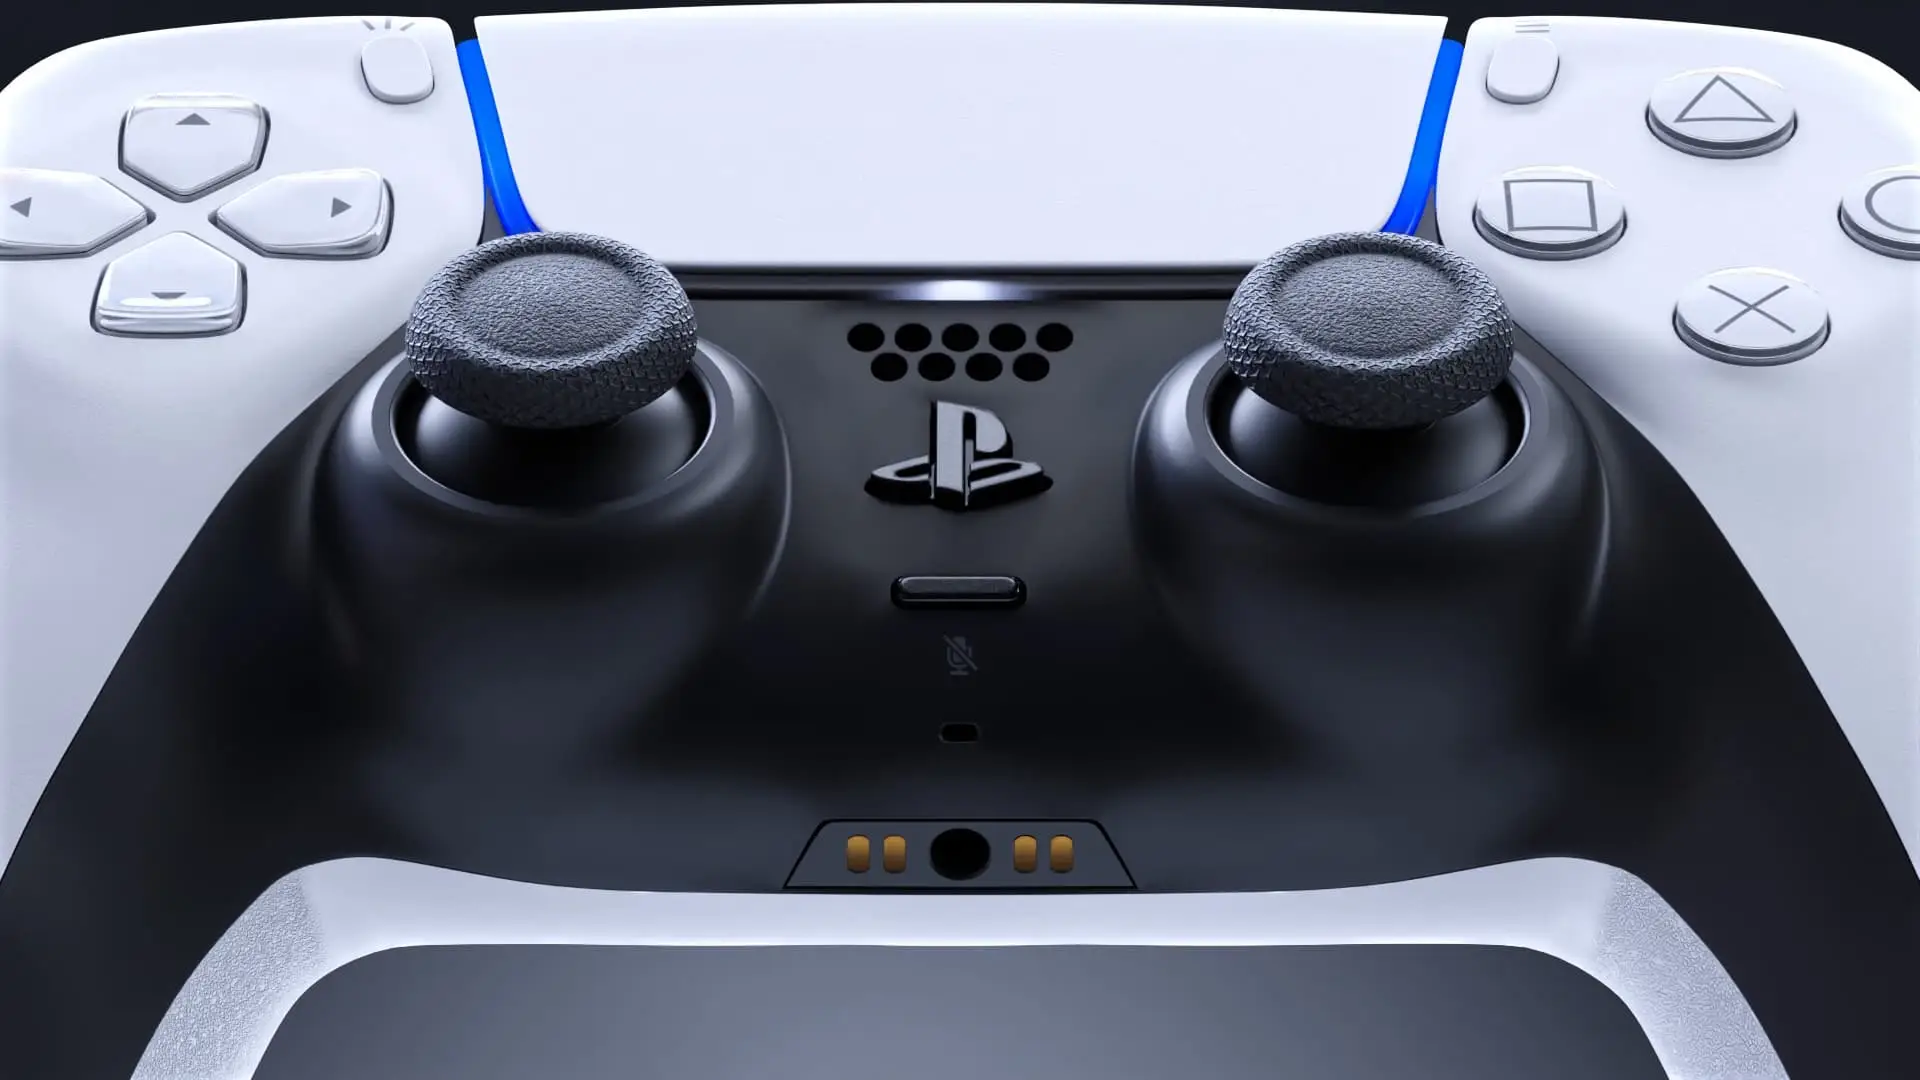
The DualSense controller may be regarded as one of the best designed controllers of all time but that does not mean it doesn’t have its fair share of issues.
From stick drift to issues with cleanliness, being a DualSense controller owner is a bit like owning an unruly pet.
Not only that but with the PlayStation 5 controllers being so expensive, it is no easy task to just replace if they happen to break or malfunction.
As a result, there is a way to try and solve the problem yourself even if that means getting out those tiny little screwdrivers.
Advert
Yes, you will need to take your PS5 DualSense apart but it is pretty foolproof if you have the right equipment.
For the cleaning aspect, you will need to gather some cotton buds or cotton balls as they won’t damage the interior of your controller too much.
Additionally, you will need some isopropyl alcohol or alcohol pads.
For the DualSense controller, you will need to get a Phillips #00 screwdriver specifically along with some other precision tools.
If you are unsure what to purchase, kits such as this are a perfect example but make sure to shop around to find the best cost effective choice.
Once you have dismantled your controller, you will probably see that it has accumulated quite a bit of dust and grime over time, especially in areas where the shell connects.
Simply put some alcohol on your cotton pads and wipe away any grime you see. Use enough force to remove the dirt but not too much that you will damage or move any major components.
When it comes to the buttons on the DualSense, it is best to avoid using alcohol on these as they can wear off the paint over time.
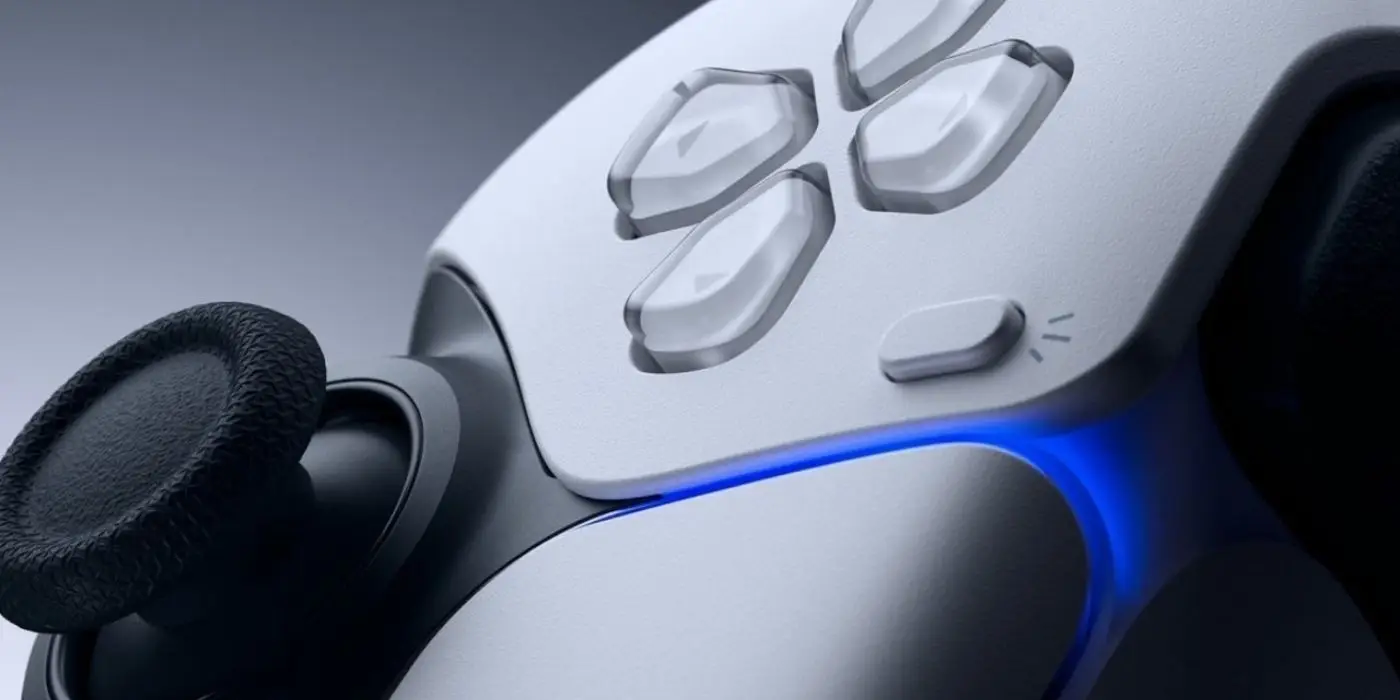
Instead, use something like a microfibre cost to give them a quick polish instead.
To access the interior of the controller, you will need to remove the piece of black plastic that runs along the bottom of the controller.
“Leverage the pick between the middle trim and the bottom shell to remove it, focusing on the bottom corners on both sides of the controller and the middle piece by the headphone jack,” a tutorial by BGR reads.
It is then that you can dislodge the bumpers and triggers before working on dismantling the controller shell in order to get to the full interior of the controller.
Once here, you can use a can of compressed air to remove any dust and grime before going over any remains with your cotton wool buds.
When that is complete, you are done and can begin putting your DualSense controller back together (and hoping that you have not lost any screws).
There is no guarantee that this will help any issues you have been having with the controller but it is definitely worth a try rather than splashing out the cash to get it professionally repaired or replaced.